Docker’a Giriş
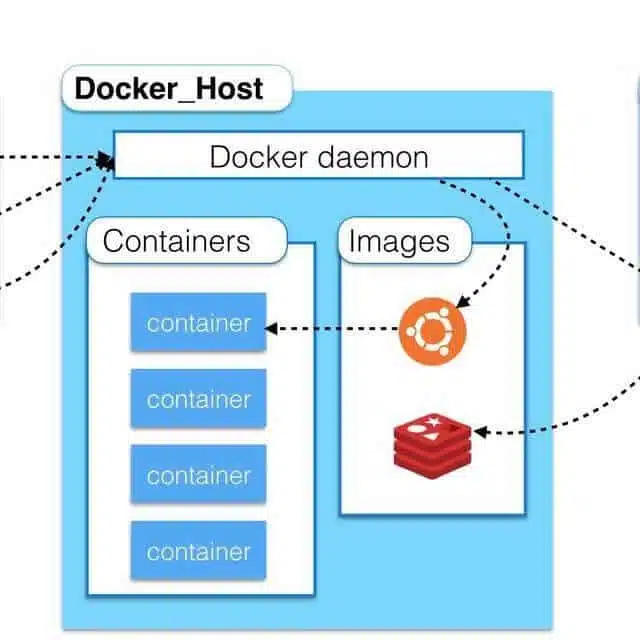
Klasik olarak bir tanımla başlamamız gerekirse Docker, dünyada en çok kullanılan yazılım konteynerleştirme platformudur. Konteynerleştirme konteyner içine koyma anlamına gelir. Docker, Linux Kernel’e 2008 yılında eklenen Linux Containers (LXC) üzerine kurulu bir teknolojidir. LXC, Linux’da aynı işletim sistemi içerisinde birbirinden izole olmuş bir biçimde çalışan Container’lar (Linux tabanlı sistemler) sağlamaktadır.
Docker’ı kullanarak her ortama hızla uygulama dağıtıp uygulamaları ölçeklendirebilir ve kodunuzun çalışacağından emin olabilirsiniz.
.NET Core Uygulaması Örneği
Öncelikle Visual Studiomuzdan Create New Project diyerek yeni bir .Net Core Uygulaması oluşturuyoruz.
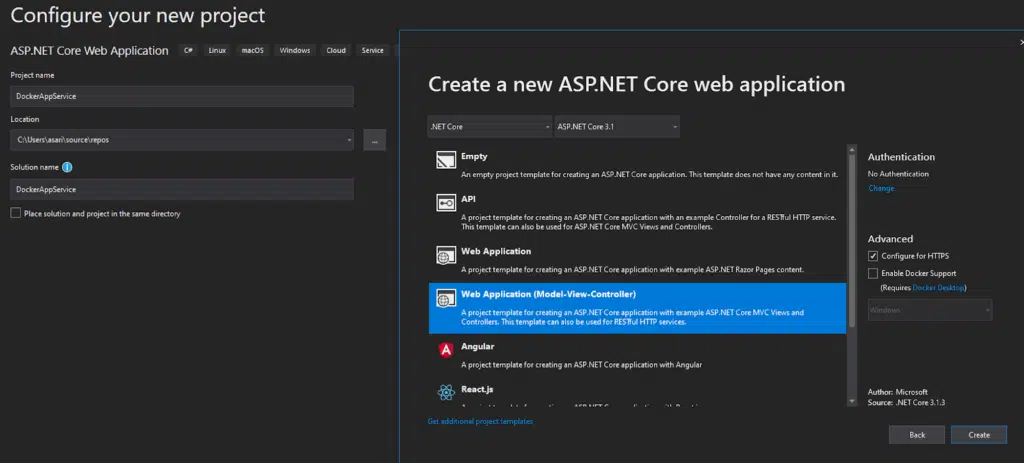
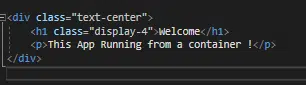
Bu aşamada uygulamamızın içeriği önemli değil, bu yüzden Index’de küçük bir değişiklik yapıp uygulamamızı kaydediyoruz
Uygulamamızın dosya dizinine giderek Dockerfile adında bir dosya oluşturuyoruz. Bu dosyanın aynen bu isimde olması ve uzantısının olmaması docker daemon için çok önemli. Bu dosyanın içerisinde docker daemon, uygulamamızı container haline getirirken hangi adımları takip etmesi gerektiğini belirtiyoruz. Her uygulama diline ve uygulama değişkenine göre bu dosyanın özelleştirilmesi gerekir. Bizim yazacağımız dockerfile şuanda en basit haliyle aşağıdaki gibi olacak.

Bu adımdan sonra yapmamız gereken şey command line’dan Docker Desktop ile containerimizi derlemek. Bunun için bir komut satırı açıp dockerfile’ımızın bulunduğu dizine gidiyoruz. İlgili dizinde ise dockerfile’ımızı derlemek için aşağıdaki komutu çalıştırıyoruz.
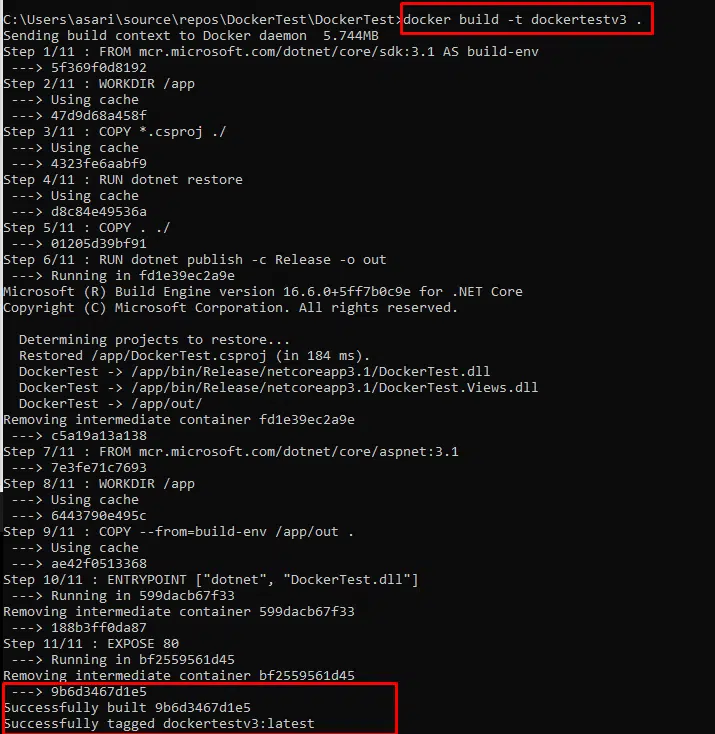
Komutta . kullandığımız için ortamdaki dockerfile’ı dockertestv3 tagiyle birlikte derliyor ve image haline getiriyor. Ortaya çıkan image’in id’si ise aşağıdaki gibi 9b ile başlıyor. Bu image’i istersek
docker run -it –rm -p 8080:80 dockertestv3
Komutu ile birlikte local docker instance’ımızında çalıtırabiliriz ancak bizim yapmak istediğimiz bunu app servicede PaaS olarak yönetilebilir bir şekilde yapmak olacak. Bu yüzden bu image’i bir repository’e göndermemiz gerekiyor. Bizim tercihimiz burada Azure Container registry olacak ancak siz isterseniz DockerHub’a veya başka bir repostirye yükleyebilirsiniz. App Service’imiz bizden çalıştıracağı uygulamayı istediği zaman daha sonrasında ACR’ın (Azure Container Registry) içindeki image’ı göstereceğiz.
Bunun için azure subscriptionumuzda
Az acr create –name mspTestAcr –resourcegroup TestLab
Komutu ile yeni bir container registry oluşturuyoruz.

Tekrar komut satırımıza gelerek Az acr login –name mspTestAcr komutu ile login oluyoruz. Sonra sırasıyla aşağıdaki komutları uygulayarak image’ımızı registry’imze yolluyoruz.
Docker tag 9b6d3467d1e5 msptestacr.azurecr.io/dockerapp
Docker push msptestacr.azurecr.io/dockerapp
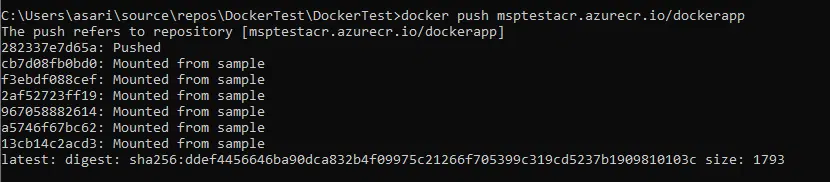

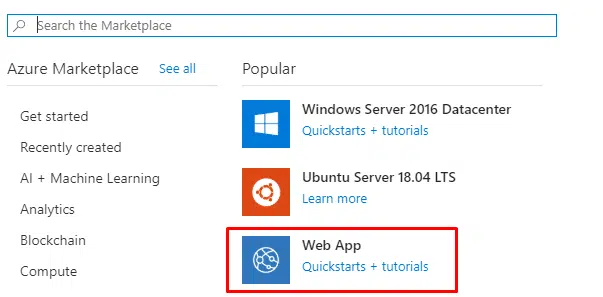
Latest tagi ile birlikte repostryimize image’ımız gelmiş bulunmakta. Bu adımdan sonra Web App’imizi oluşturabiliriz. Azure Portalden yeni bir Web App oluşturuyoruz.
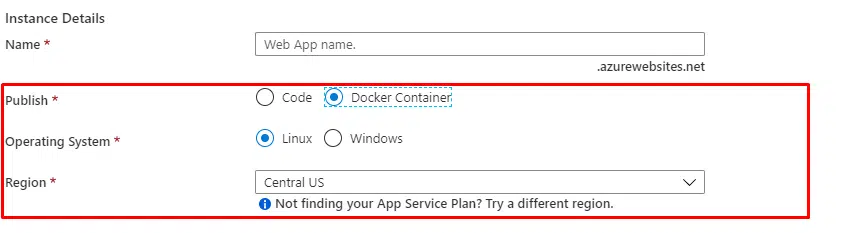
Web App’imizi yaratırken sitenin koddan mı yoksa image’dan mı çalışacağını sorduğu bölümde Docker Container seçiyoruz.
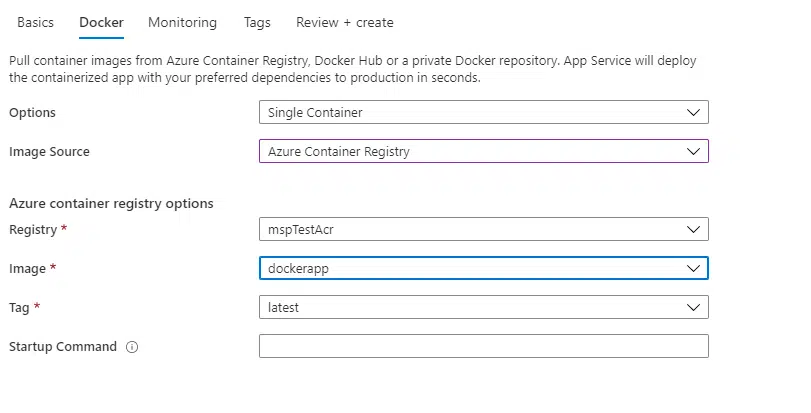
Bir sonraki adımda ise uygulama image’ının nerede olduğunu ve hangi image olduğunu belirtiyoruz.
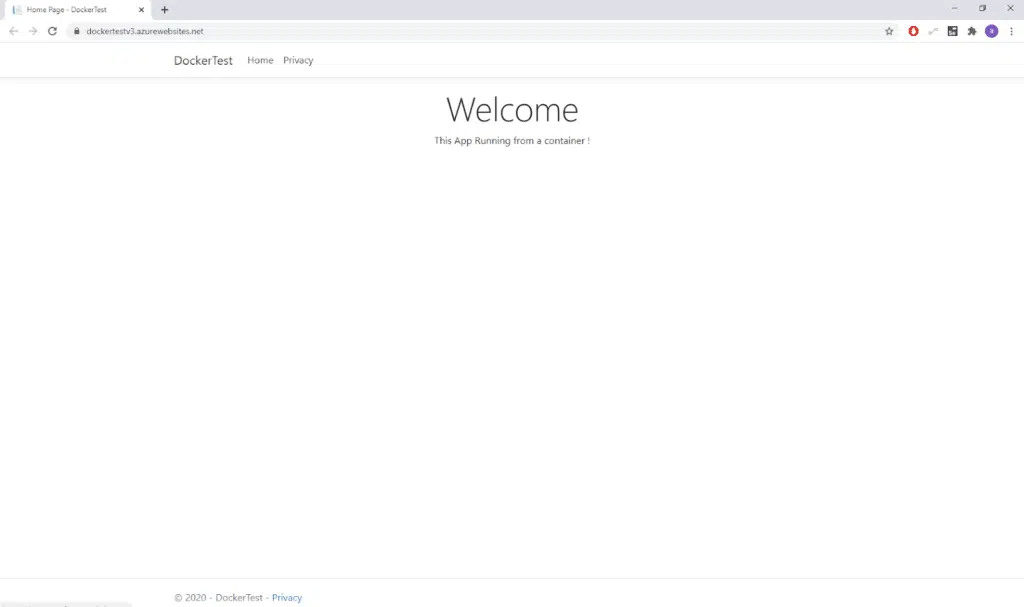
Bu şekilde servisimizi yarattığımız zaman artık image’ımızdan çalışan bir web appimiz olmuş oluyor.
Azure Devops Entegrasyonu ve CI/CD
Bu yaptığımız işlemlerin hepsini otomatize bir şekilde yapılmasını istersek eğerki burada karşımıza ücretsiz bir şekilde kullanabileceğimiz Azure DevOps servisi çıkıyor. Kısaca bahsetmem gerekirse Azure DevOps servisi bizim için Kanban Board – Work Items, Git Repostiry, CI/CD pipelines, Tests ve Artifacts gibi servisler sunarak uygulama hayat döngümüzü tamamen yönetilebilir bir hale getiriyor. Bizde burda uygulama kodlarımızı repostirymize push ediyoruz ve bu git’in master branchini dinleyen bir CI/CD pipeline kurguluyoruz.
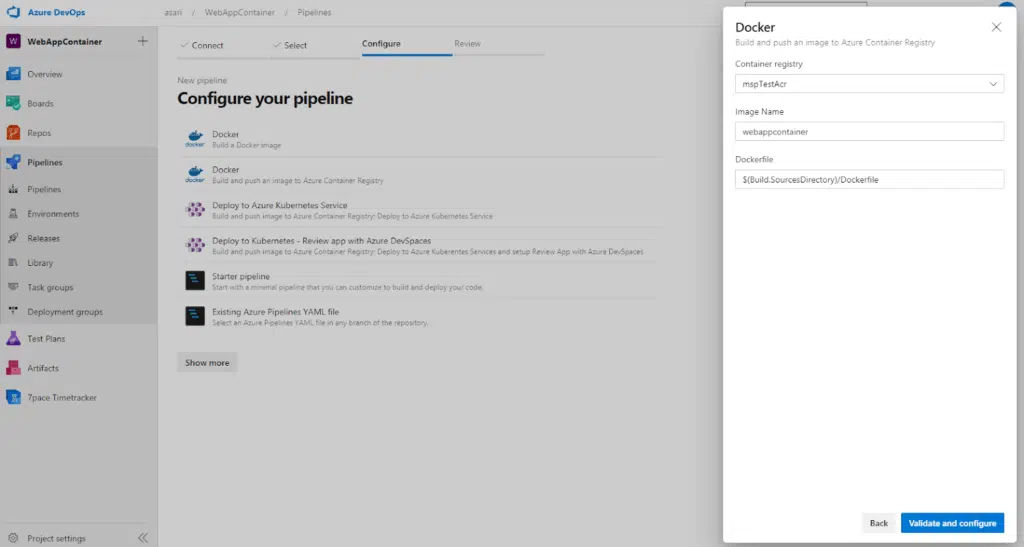
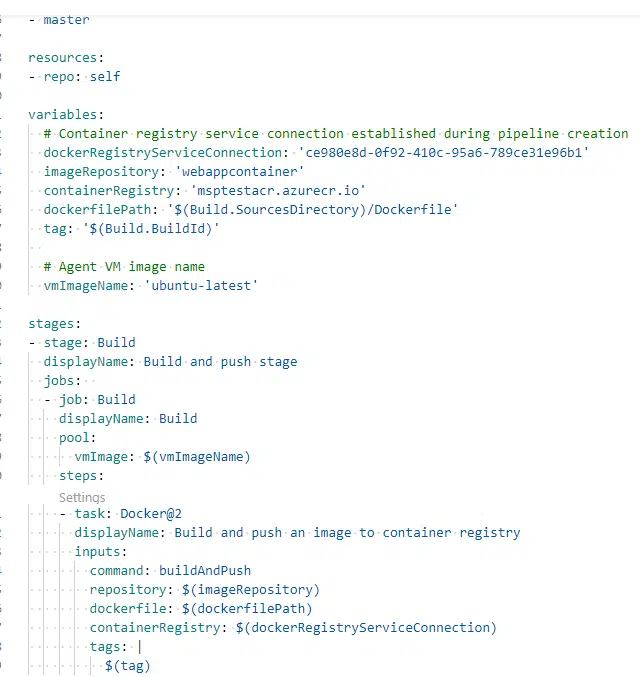
Bizim için halihazırda hazır bir template olan Docker build and publish an image to Azure Container Registry’i seçiyoruz ve aşağıdaki gibi yaml’ımız ortaya çıkıyor.
Bu işlemin sonucunda pipeline’ımızı çalıştırıyoruz ve 1 dakika içerisinde image’ımız derleniyor. Bir sonraki aşamada ise derlenen image’ın Container registry’e push edilmesini sağlayacağız.
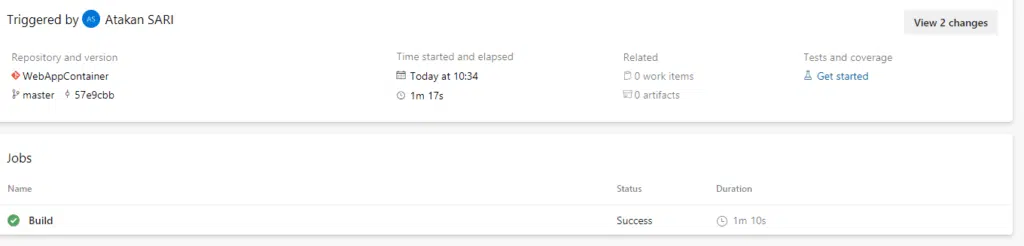
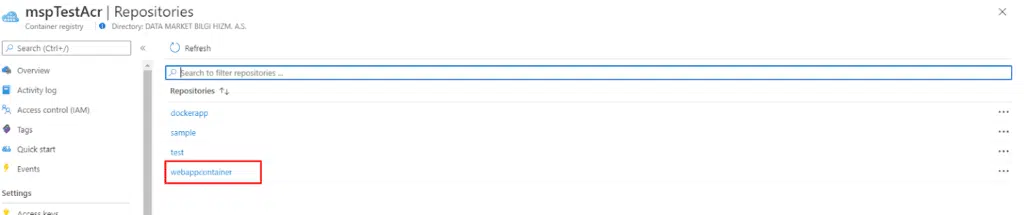
Pipeline’ımız başarılı bir şekilde çalıştı ve çıktı olarak bir image üretti. Azure Container registry’imize baktığımız zaman yeni image’imizin buraya geldiğini görebiliyoruz.
Bundan sonraki adım olarak ise yeni bir app service oluşturması adımını kurgulayacağız. Bu adımıda CD pipeline’ınında kurguluyoruz.
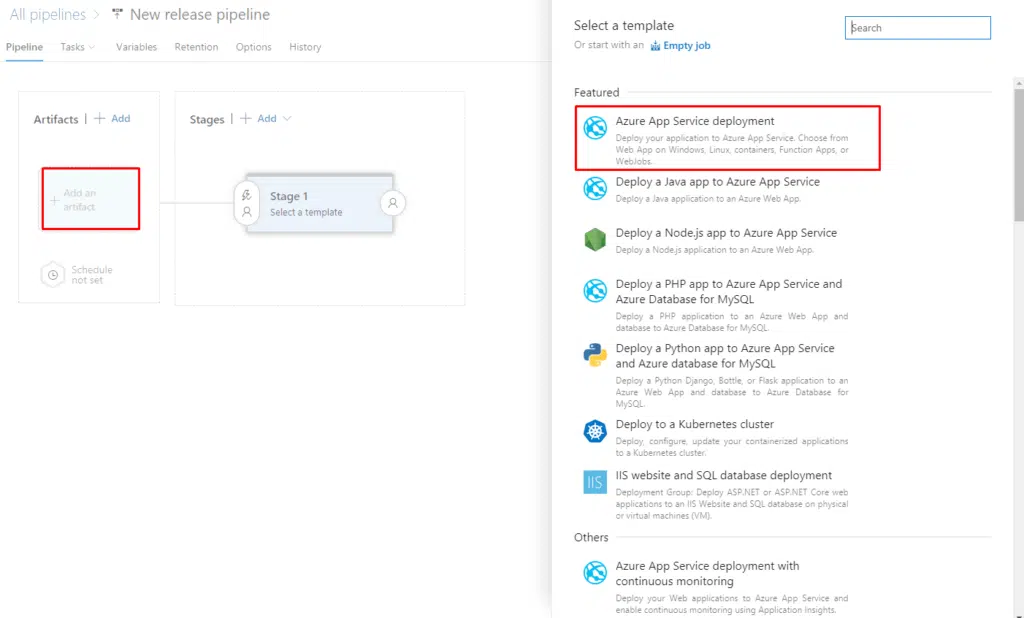
Artifact olarak Build pipeline’ımızı gösteriyoruz ve çıktı olarak ise App Service Deployment Template’ini seçiyoruz.
Ancak burada bize getirdiği taskı değil yeni bir task olarak Web App on Container task’ını seçiyoruz ve bilgileri aşağıdaki gibi giriyoruz.

Bu işlemin sonucunda pipeline’ımız otomatik olarak her kod pushlandığında yeni bir image alıyor ve ACR’a pushluyor. Pushlanan image azure web app’a deploy ediliyor. Sürecimiz tamamen otomatize olmuş oluyor.